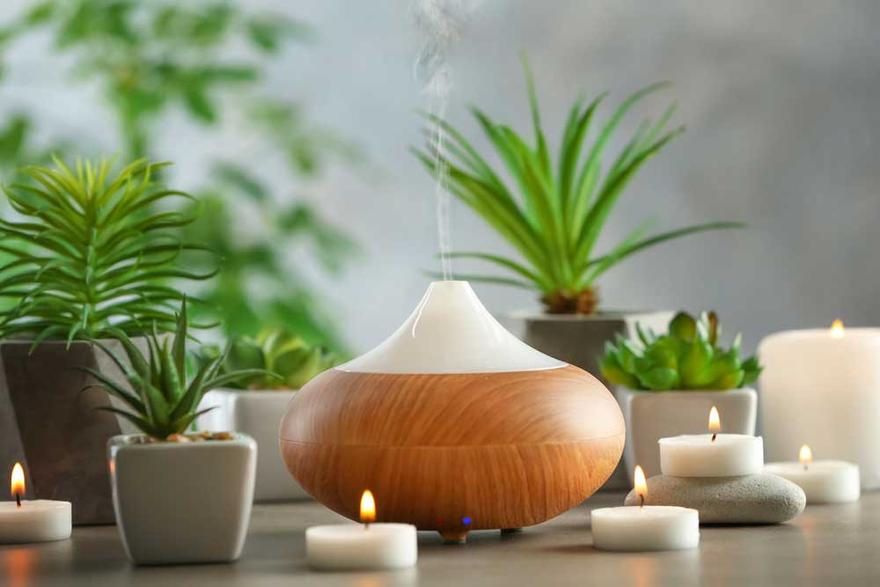
Essential oil diffusers break down the essential oils so that the aroma can be dispersed throughout the whole room. However, it’s troublesome when the diffuser starts functioning improperly or even breaks. So it is vitally important that you clean your diffuser properly on a regular basis. There are 8 simple steps to clean your essential oil diffuser below:
ALWAYS MAKE SURE YOUR DIFFUSER IS UNPLUGGED FROM ITS POWER OUTLET BEFORE ATTEMPTING TO CLEAN IT
- Fill your diffuser about half way with clean water. Make sure you stop well below the max line.
- Add up to 10 drops of pure white vinegar. This will help in removing the oils that are stuck inside the diffuser and on the glass or plastic pieces.
- Let the diffuser run for about 3-5 minutes to allow the water-vinegar mixture to disperse throughout the unit and clean it.
- Drain the diffuser completely.
- Using a cotton swab dipped in vinegar, clean the tight spots and corners of the diffuser to make sure that no spots are left dirty.
- Rinse with clean water.
- Empty again and you’re good to go.
- Use a dry cloth, or more cotton swabs or cotton balls to wipe the diffuser and dry it thoroughly.

By the way, you should to clean out your diffuser after each use. Because the oils used in your essential oil diffuser can be very corrosive and you really do have to clean it out after each use for best longevity and performance of the unit. Further, the smells and leftovers of one oil can severely effect the experience you have when you put another scent or oil in your diffuser.
Hope this article is helpful for you.
